In this tutorial we will show you how to add Events to your app.
Easy Easy Apps offers 2 ways of showing Events in your App:
- a list mode, where the goal is to promote the events.
- And a Calendar mode, where the goal is to promote the Event dates.
Events Feature
We will start by showing how to add Events in a list mode.
For that press the New Feature button and choose the Events feature.
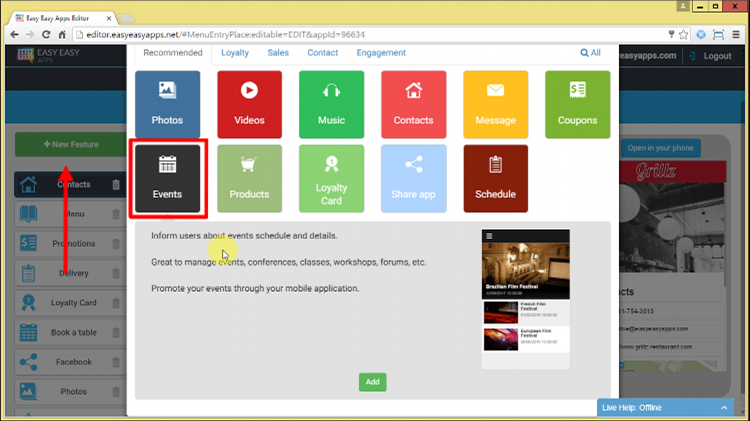
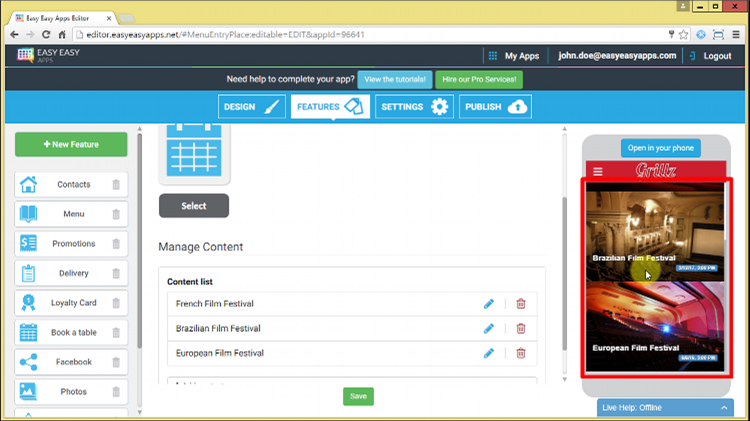
The List mode Events are especially interesting when you want to create an event agenda or when you want the biggest promotion possible for the events you want to show.
As you can see in the Live Previewer, the events are shown as a list, highlighting each event image, its title and date.
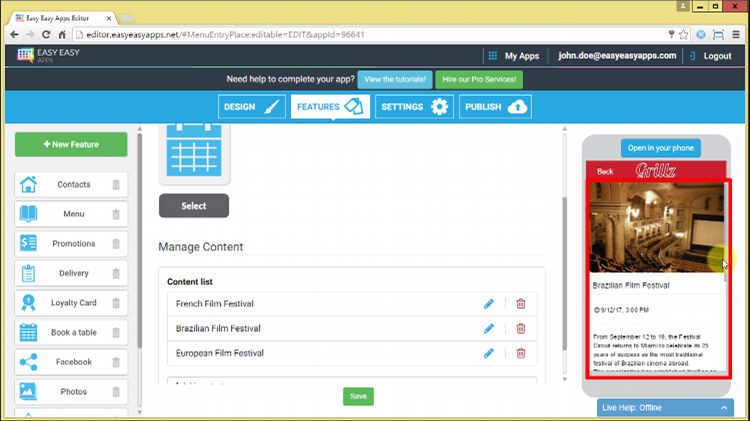
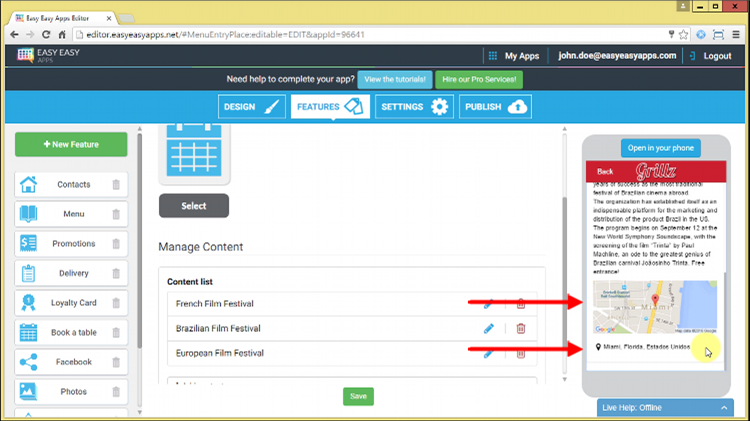
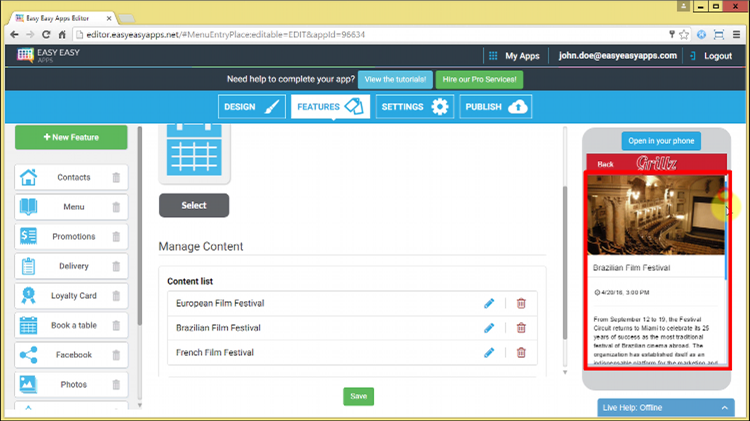
By pressing a specific event, you can see its details. In this screen, in addition to the highlighted event image, title and date, you can see the event’s location and get directions to it by pressing the map or the address.
When a user presses on the map image, or the event address, he will have the option to go directly to the map app that is installed in his Smartphone.
This way, the user can get directions to the event based on their location.
To test this, open the app in your Smartphone by pressing the Open in your phone button and follow the instructions.
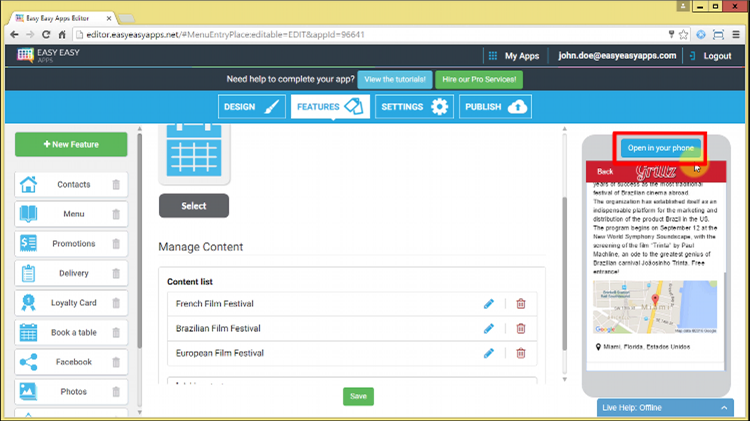
Add contents to the Events Feature
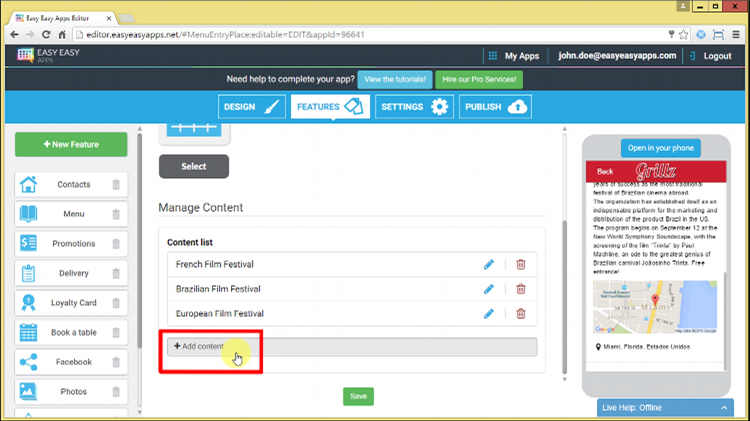
To add a new event, press the Add content button.
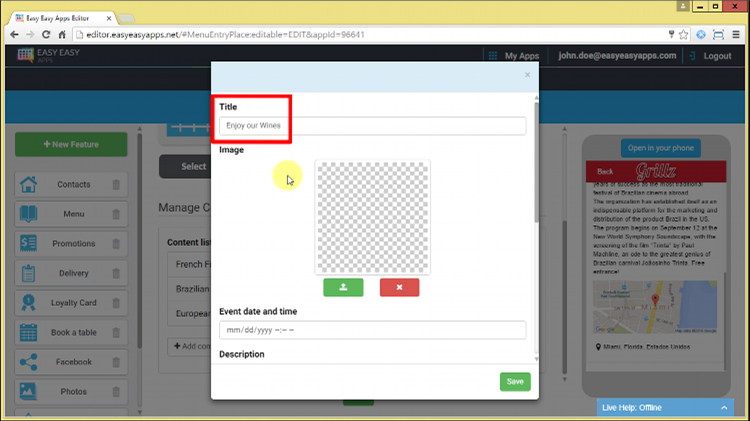
In the title field enter the name of the event. Choose creative names to capture the app users’ attention.
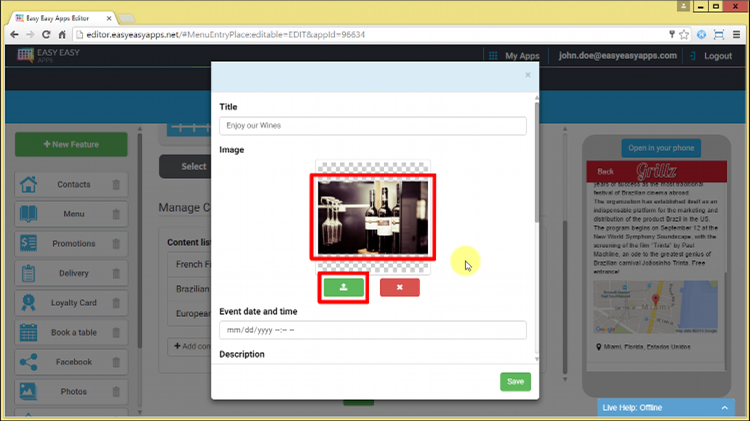
To add an event photo, press the upload photo button and choose the file from your computer.
You should choose a high quality image. Don’t worry about the image dimensions, it will be adjusted to the Smartphone screen without distortion.
Don’t forget that the image field is very important to capture the app users’ attention!
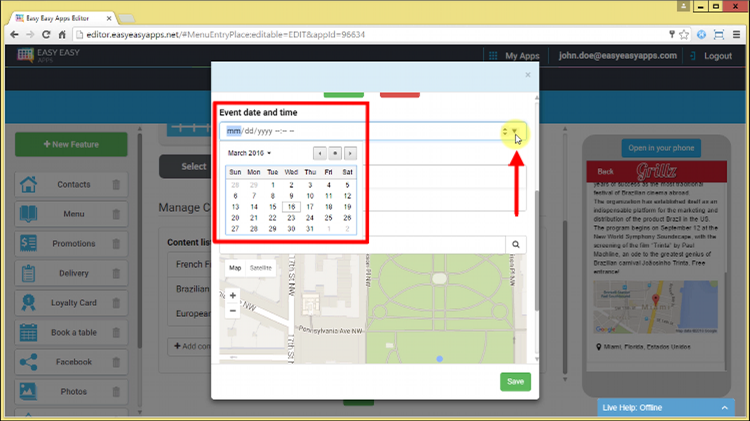
In the Publish Date and Time field enter the day and hour of when the event starts. If you want, you can choose to include only the event date, the time is optional.
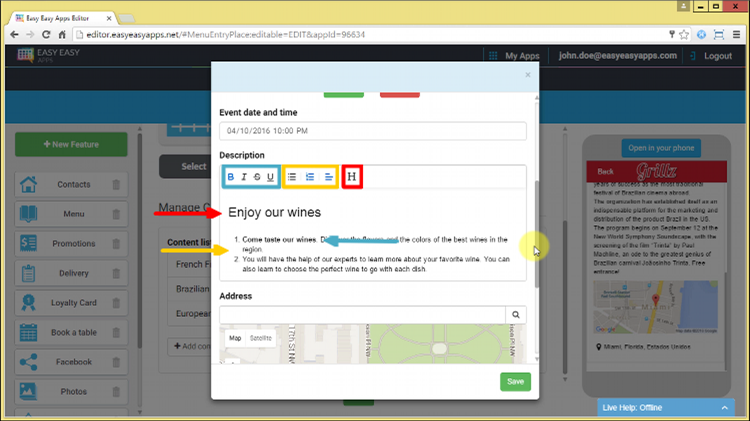
The Description field allows you to include the event details.
In the Description field you should enter the event details, and if you want, you may include titles, create lists and style the text.
The Address field allows the users to see the event location in a map and its full address.
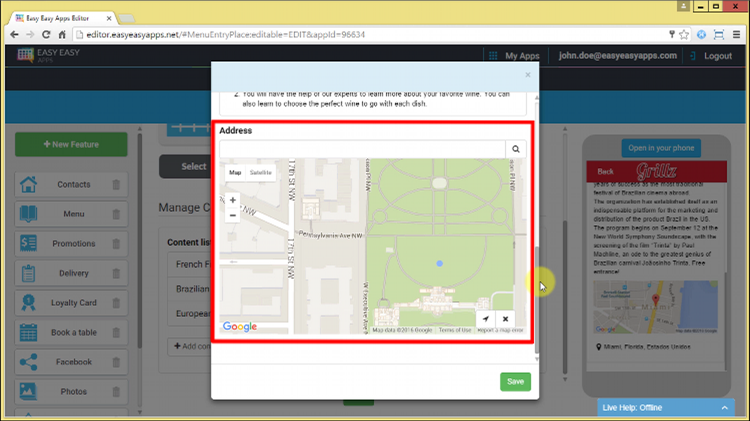
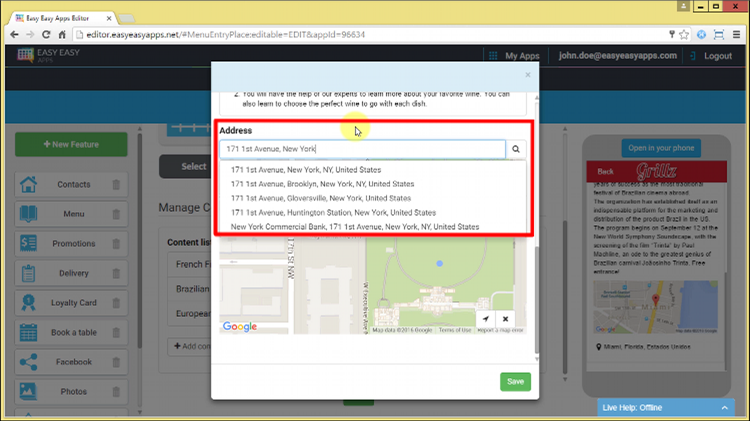
To configure the address, you can enter the full address in the designated field as if you were entering it in Google Maps.
Automatically the App Maker will try to complete your address, giving you the best suggestions based on the google maps information.
After you enter your full address, press the enter key or press the magnifying glass icon.
The map position is automatically calculated based on the address that you entered.
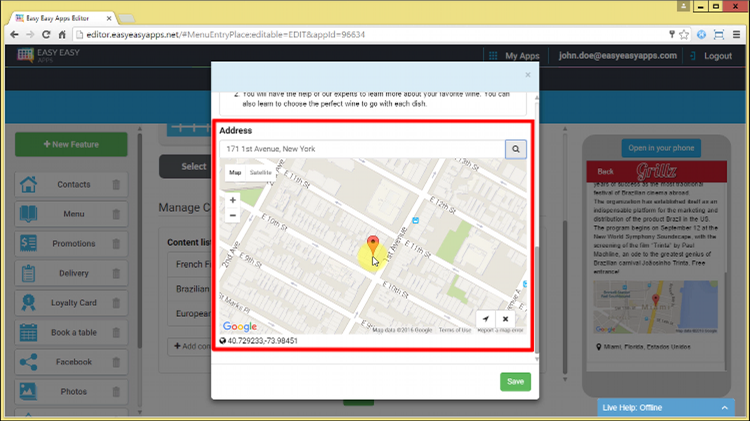
You can also drag the map and place the pin in the location that you want. When you do that, an update symbol will appear in the address field.
Pressing the update symbol in the address field, the App Maker will automatically calculate the address of the pin’s location.
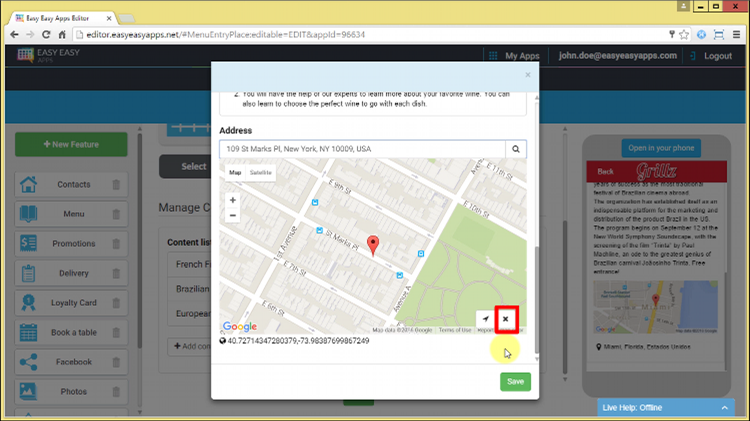
If you don’t want to show the map and the address in the App, press the X button and all the data will be deleted.
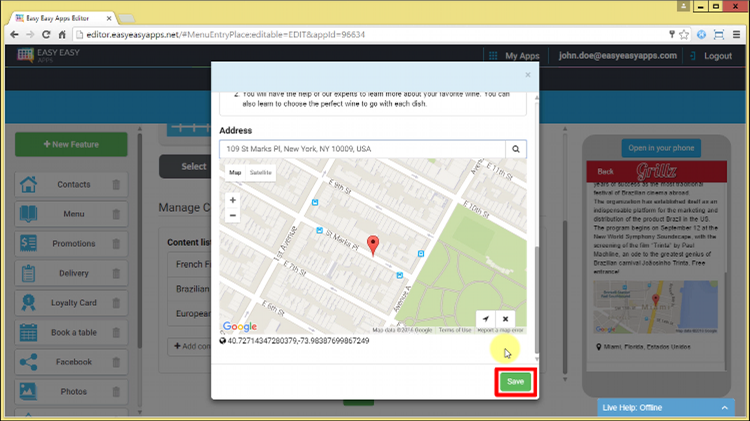
Once you have entered all the event information, press Save and immediately see how your event is displayed in the Live Previewer.
See the new contents in the Live Previewer
In the mobile App, you will see your events in List mode. By pressing a specific event, you may see its details, the map to get directions and the photo in full size.
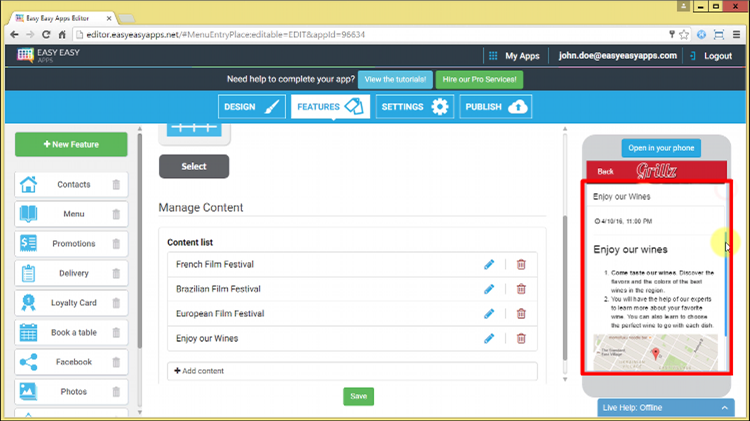
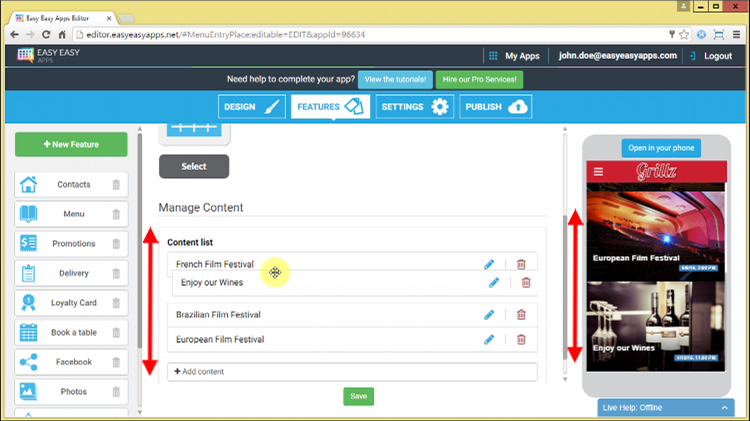
The Events list order in the App is the same order of the Content List in the App Maker.
You can change the content list order by dragging one event and dropping it in the new position.
This way you may show the app users your most important Events in the order that you prefer.
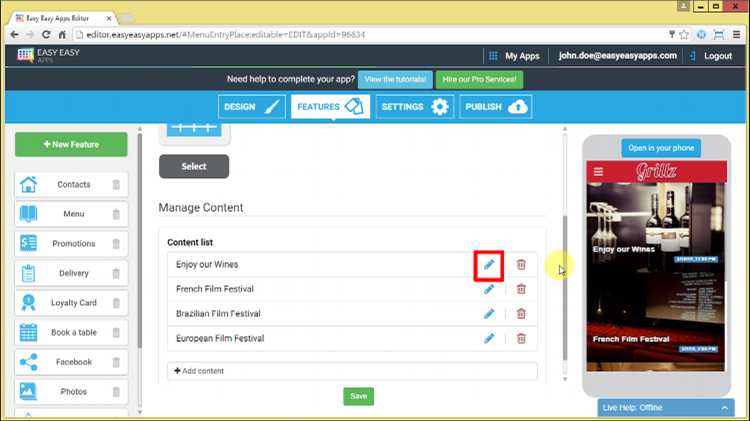
You can edit the event content by pressing the Pencil icon.
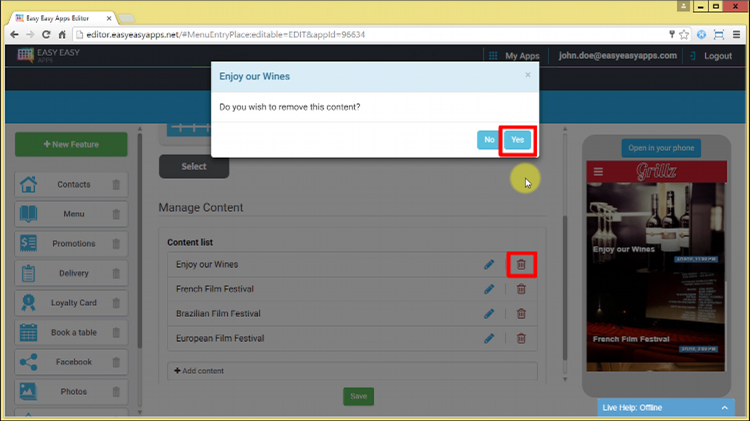
If you need to remove an Event, just press the trash icon and after confirming your action, the event content will be deleted.
Calendar Feature
Another way to show your events to your app users is in the form of a calendar.
For that, press the New Feature button, select the All tab and choose the Calendar feature.
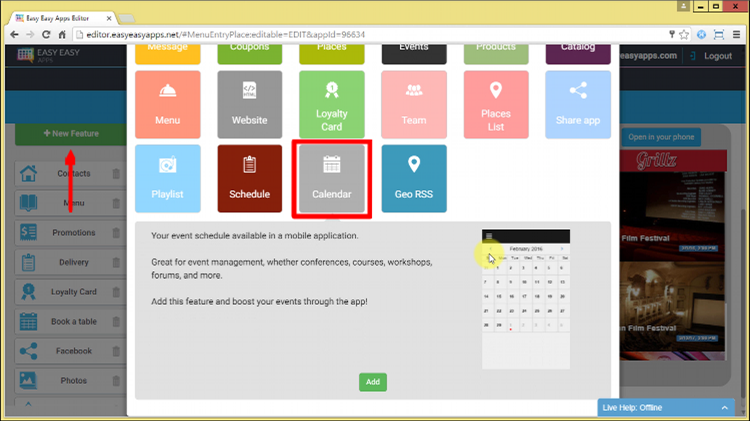
The events in Calendar mode are particularly interesting when you want to show different events that occur in a period of time. For example, when you have many events taking place in a month.
When exploring the Calendar feature in the Live Previewer, the events are displayed in a calendar that will always open to the current month.
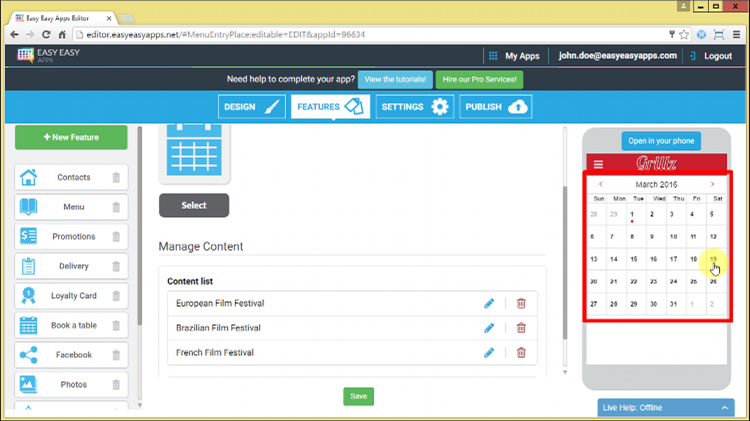
By pressing a day that is marked with events, the user is directed to that day’s events in list mode.
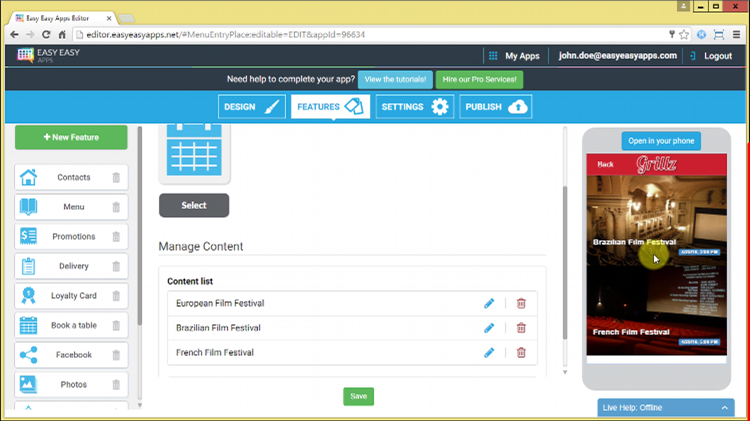
And, by pressing a specific event, the user will see the event details, just like in list mode.
The events management in Calendar mode is done exactly the same way as in the List mode.
Thank you for watching this tutorial, leave your comments and we will contact you.
Don’t forget to share!